Wednesday, November 28, 2012

Help wanted!

I'm trying to plot a simple design for the back of the quilt (mentioned in the earlier post) using the color palette I have selected from my collection of fabric.


Here are some experiments I made in Adobe Illustrator:


Blaaah! I'm not really satisfied with any of them yet. If anyone has the time or the motivation, feel free to submit your own ideas, or advice. Should I keep it simple, to feature the estate sale quilt? Perhaps I should select just one or two colors to make the quilt back.

Feedback, please!


I'm strategizing a quilt back for this lovely family heirloom quilt top I picked up at a local estate sale. I love the colors!


Sunday, October 21, 2012

Dyeing with Yellow Onions Part 2

Last night I took the fabric pieces out of the dye-bath and put them through a rinse cycle in the washer.
Turns out after onion skin water has stagnated for 24 hours, it smells a little bit... yucky...


Hung them up to dry in the living room, went to bed, and was greeted by this scene upon waking!
(The rack was originally vertically oriented...)


Thanks a lot, Lefty!


The wool (at the top) seems to have hogged all the color, leaving everything else a sort of bland maize color.  The synthetic fabrics really didn't pick up much color at all.  Next time I think I will try not to crowd the dye-bath so much and maybe dye only wool, and hopefully get some more bold colors.  Still, I like it!  They're pleasant colors.


Special thanks to my helper, Lefty the cat.


Now... what to do with my maize-toned fabric bundle?


Friday, October 19, 2012

Dyeing with Yellow Onions Part 1

Maura Ambrose is an inspiring quilter/dyer from Austin, TX, and recently on her blog, she posted instructions for dyeing with onion skins.  (The instructions for yellow skins found here:

Here's an example of a beautiful quilt she made with fabrics dyed with red onion skins: http://www.folkfibers.com/products/alaska-baby-quilt

Anyway, I thought I would document my process, FOR SCIENCE!

The folks at Rising Sun (the local produce stand) were nice enough to let a crazy lady like me rifle through their onions, collecting all the detached skins.  I had enough for a really dense dye-bath in one trip!

Add the water...

Boil boil... abandon, run back when you hear sizzling and smell oniony steam pervading the house...

Collect an assortment of white or whitish fabrics.

Keep a tiny sample of each for a before and after.  Hope that you will be able to tell which was which...

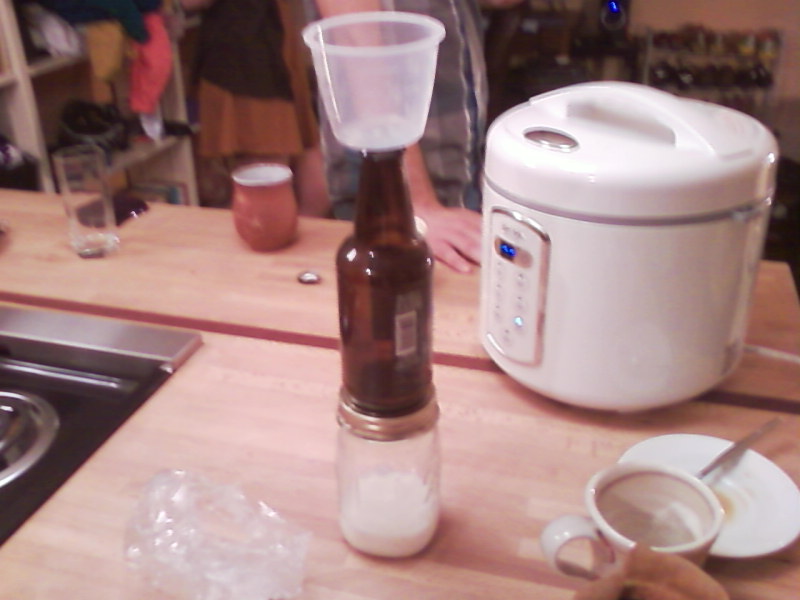
Pre-soak your white fabrics, strain the pot of hot, sopping onion skins through a colander into a bucket.
From left to right, the containers are: 1) pot formerly containing hot onion skin bath
2) pre-soaking fabrics
3) Strained onion water (it's so dark!!!) with some of the pre-wet fabric already added
4) Discarded onion skins

Wring out and add all of your fabric.  Here's the fabric stewing.

Within about 30 seconds the fabric was already picking up color.
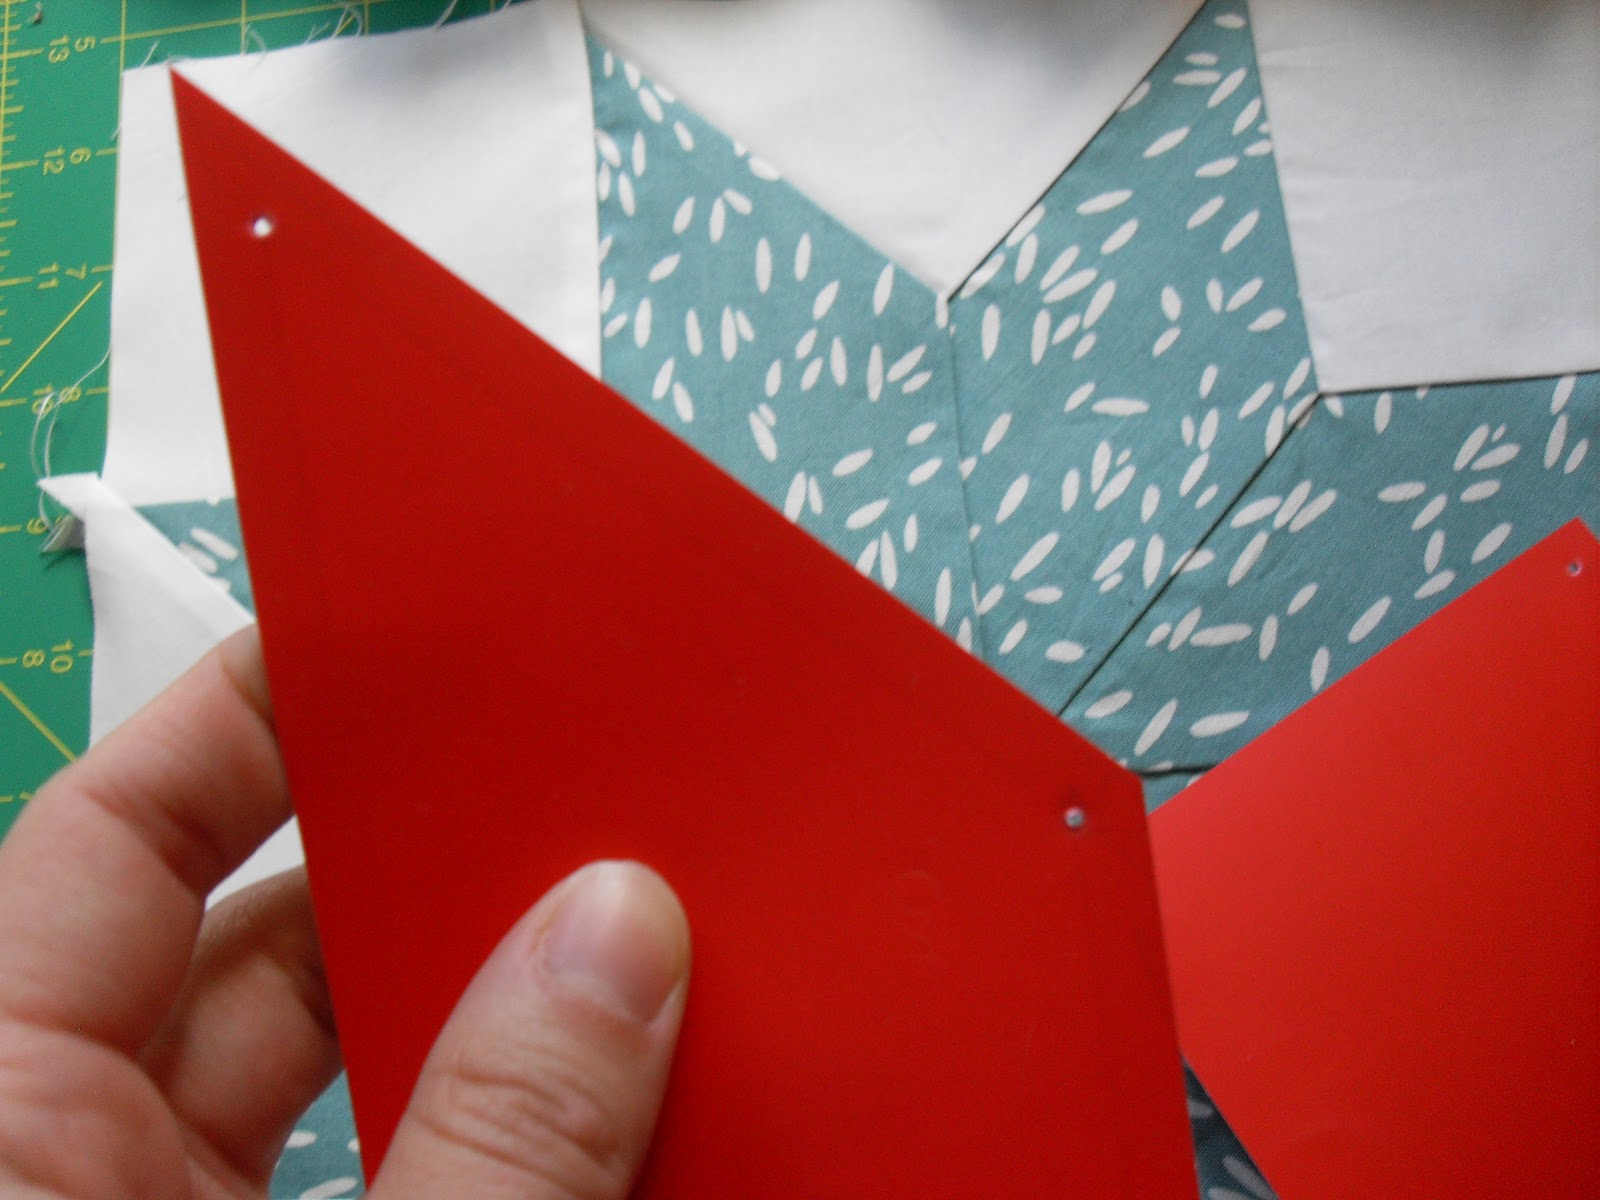
White on white prints are interesting to dye, because the fabric tends to dye but the print doesn't!


To be continued...


Thursday, August 30, 2012

Luna's Memorial Quilt

I was going to make this quilt as a burial quilt for Luna... but unfortunately I missed my window for that, by being on a trip in Ohio.  Anyway, now it will be a keepsake for me to remind me of her.


I picked colors that reminded me of Luna; dark grey and white for her fur, light pink for her adorable nose, and light yellow-green eyes, and purple, for her personality.  :)


Here's some Adobe Illustrator messing... plans that didn't pan out.


Here I've gotten all the squares sewn together and they are waiting to be quilted.  I think I will take this opportunity to try my hand at hand-quilting, since it is only about the size of a pillowcase.


Tuesday, August 28, 2012

8 point star

Of all the fabric I have collected over the years... these are some of my favorites.

I picked some cute Lotta Jansdotter fabric to start this project.  I made some custom pattern pieces out of an old plastic office folder to construct a classic 8 pointed star with Y seams.

Here is the first completed block.  It was a nit-picky, but oh so satisfying, and it went quite smoothly.  Look at my cutie pattern pieces all lying in a row!  They're so nice.  I love them.

Here's a snapshot from the Adobe Illustrator file where I designed the pieces:
I also love Adobe Illustrator.  What would I do without you, Adobe?*


*Not a paid advertisement.


The butthole of the quilt block...